

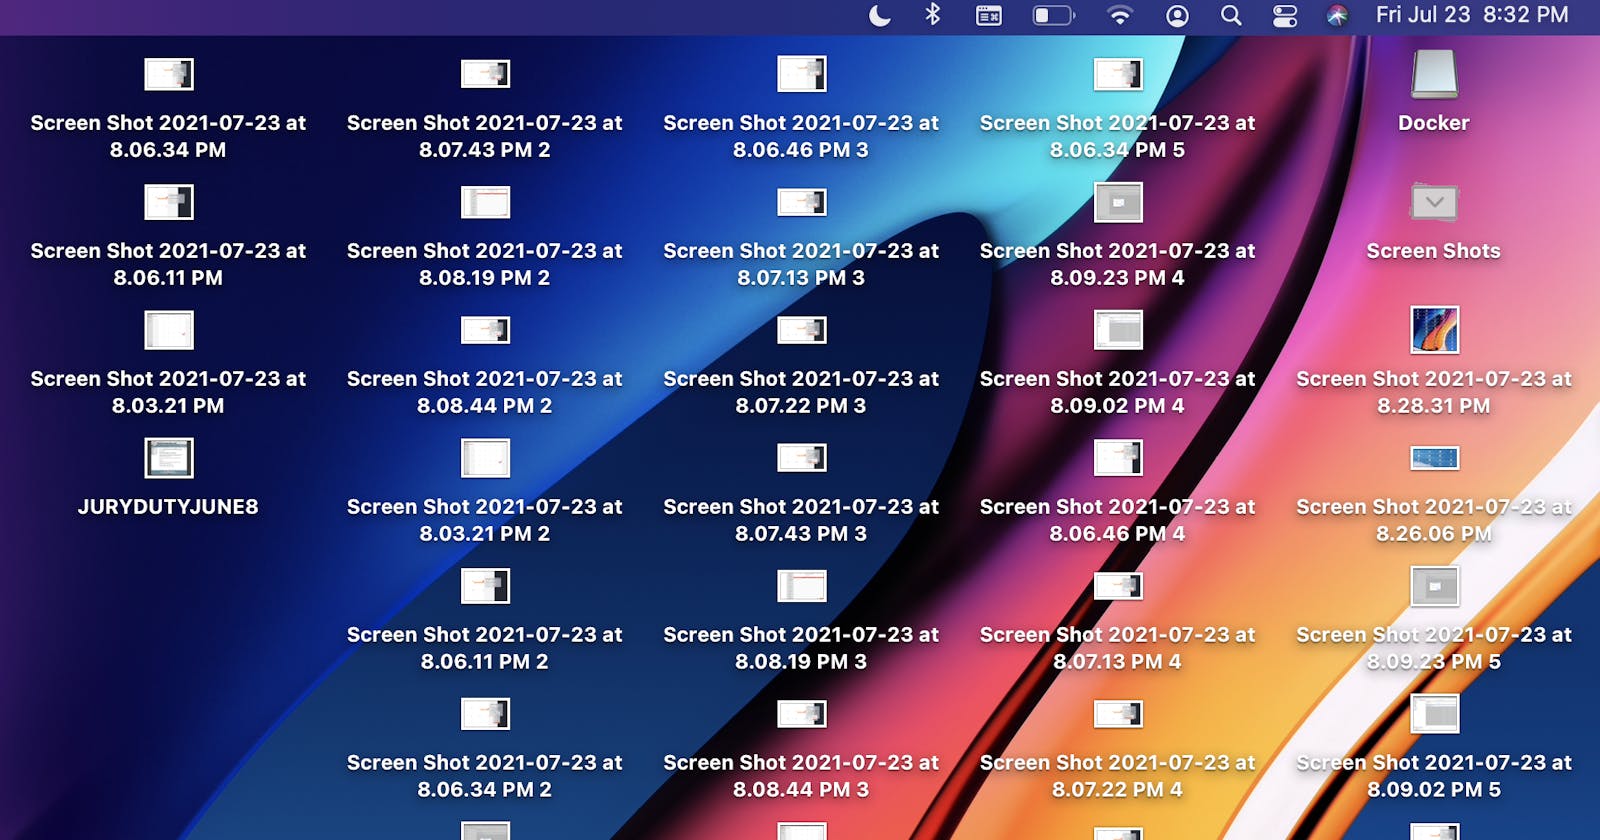


Screenshots are great for front-end and UI-related work. Unfortunately, they can create clutter fast if you're not careful. Let's get going and Marie Kondo your Desktop!

Part One: creating the workflow
Create New Automator File
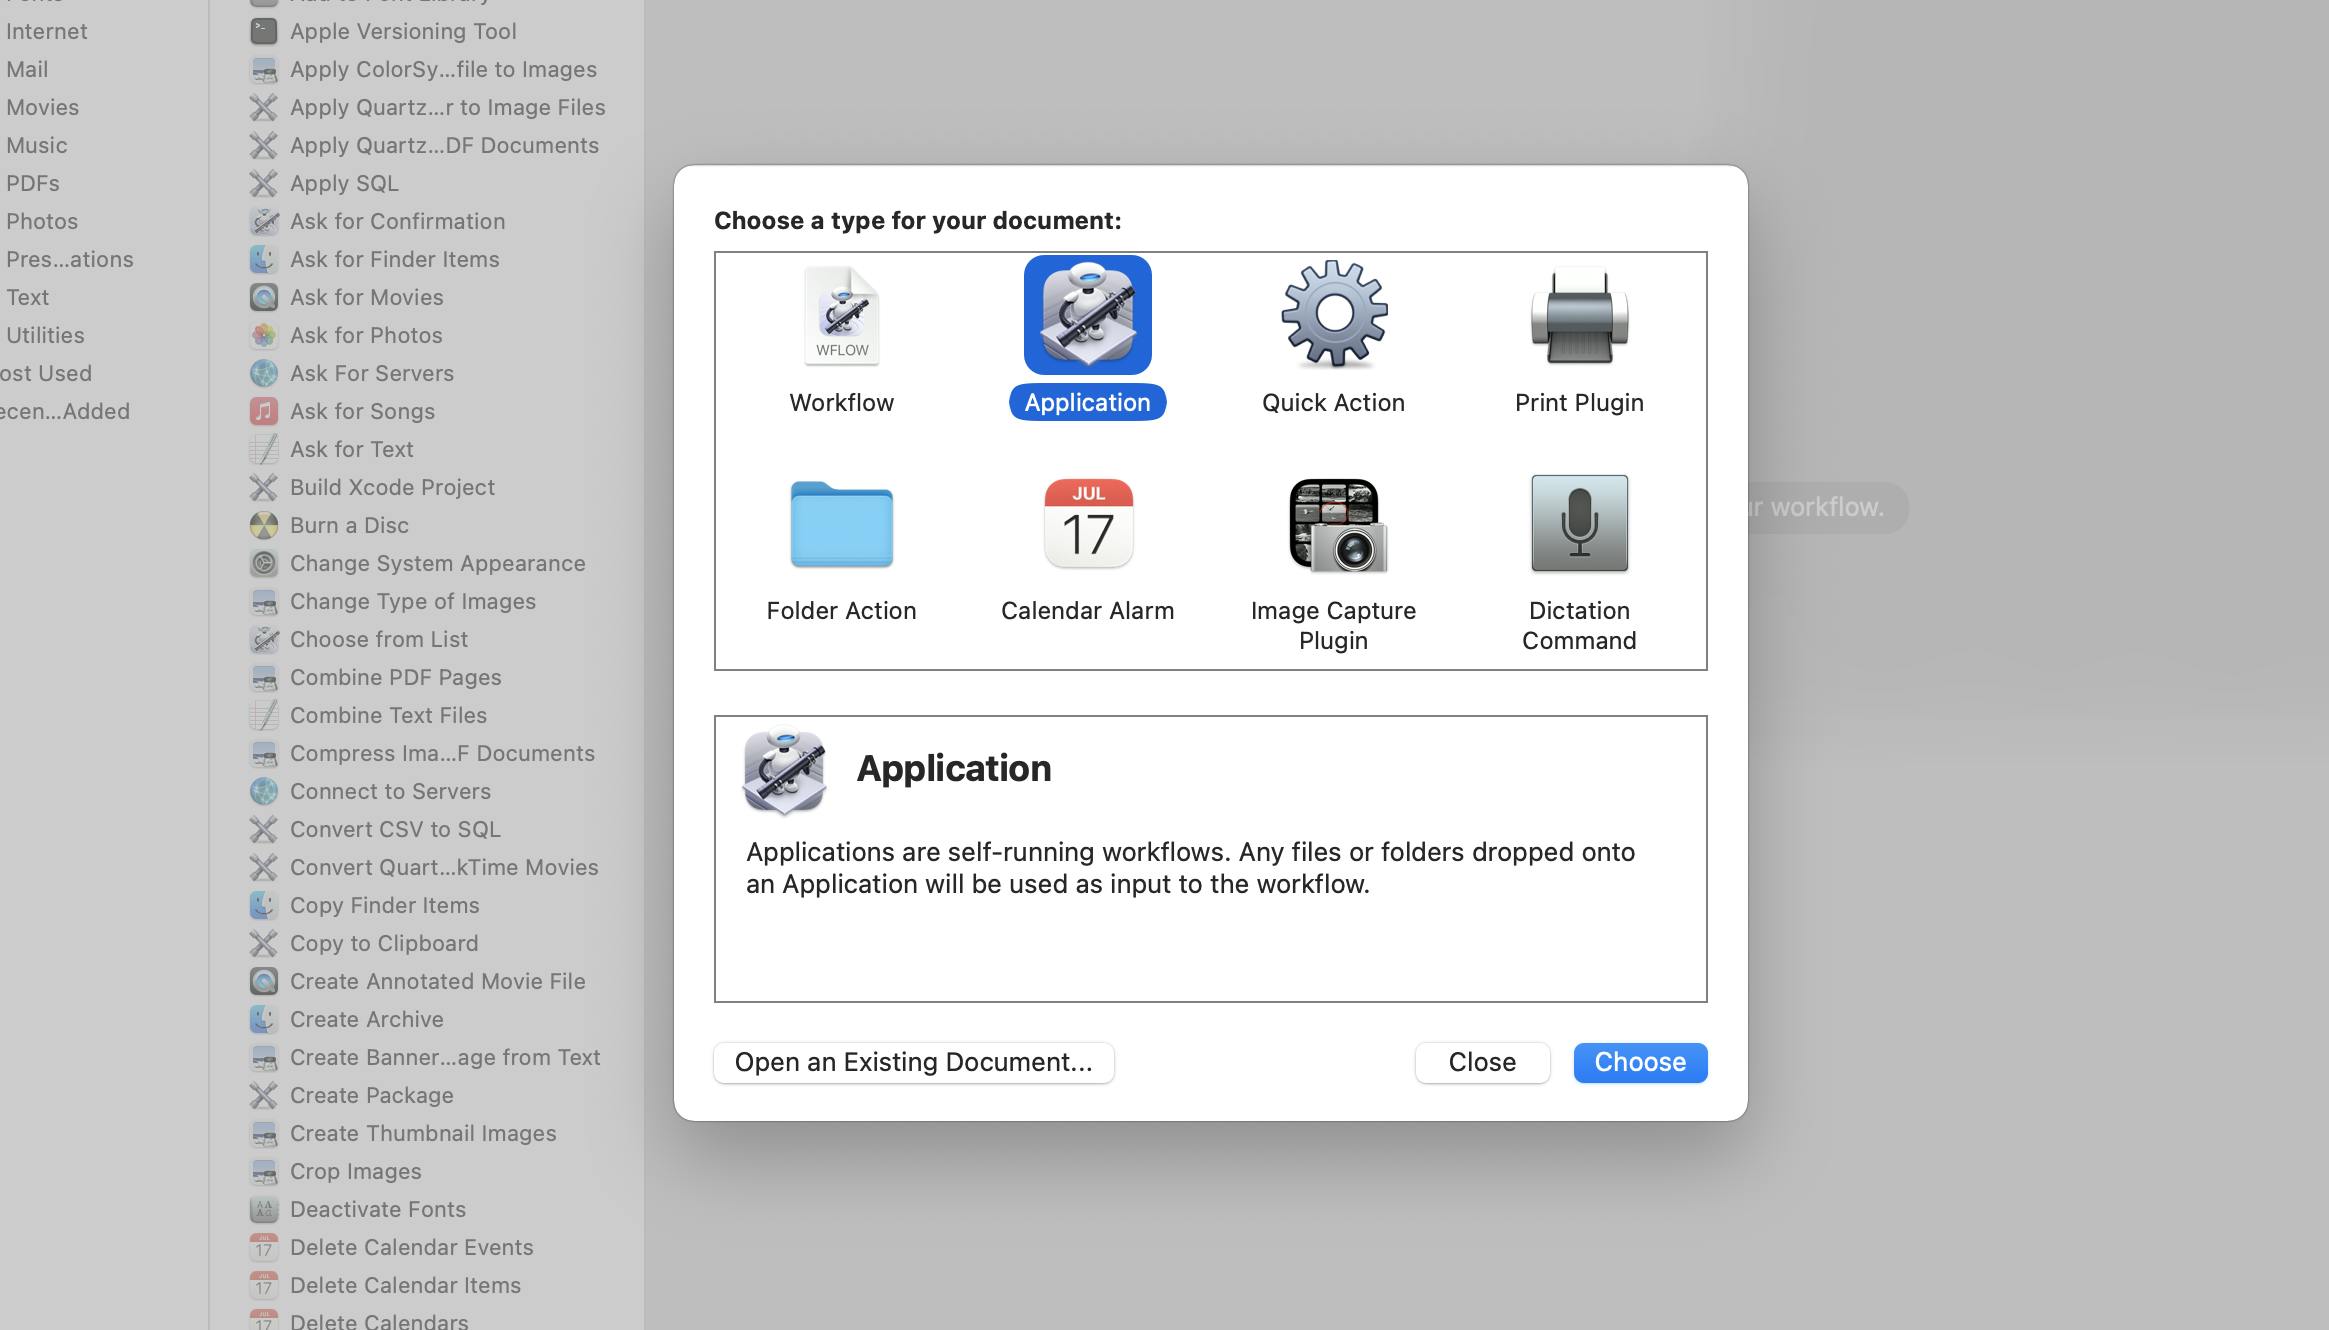
We are going to be using Automator and iCal. Open up Automator from your Applications folder, and create a new file. You want to select the application workflow.
Spotlight
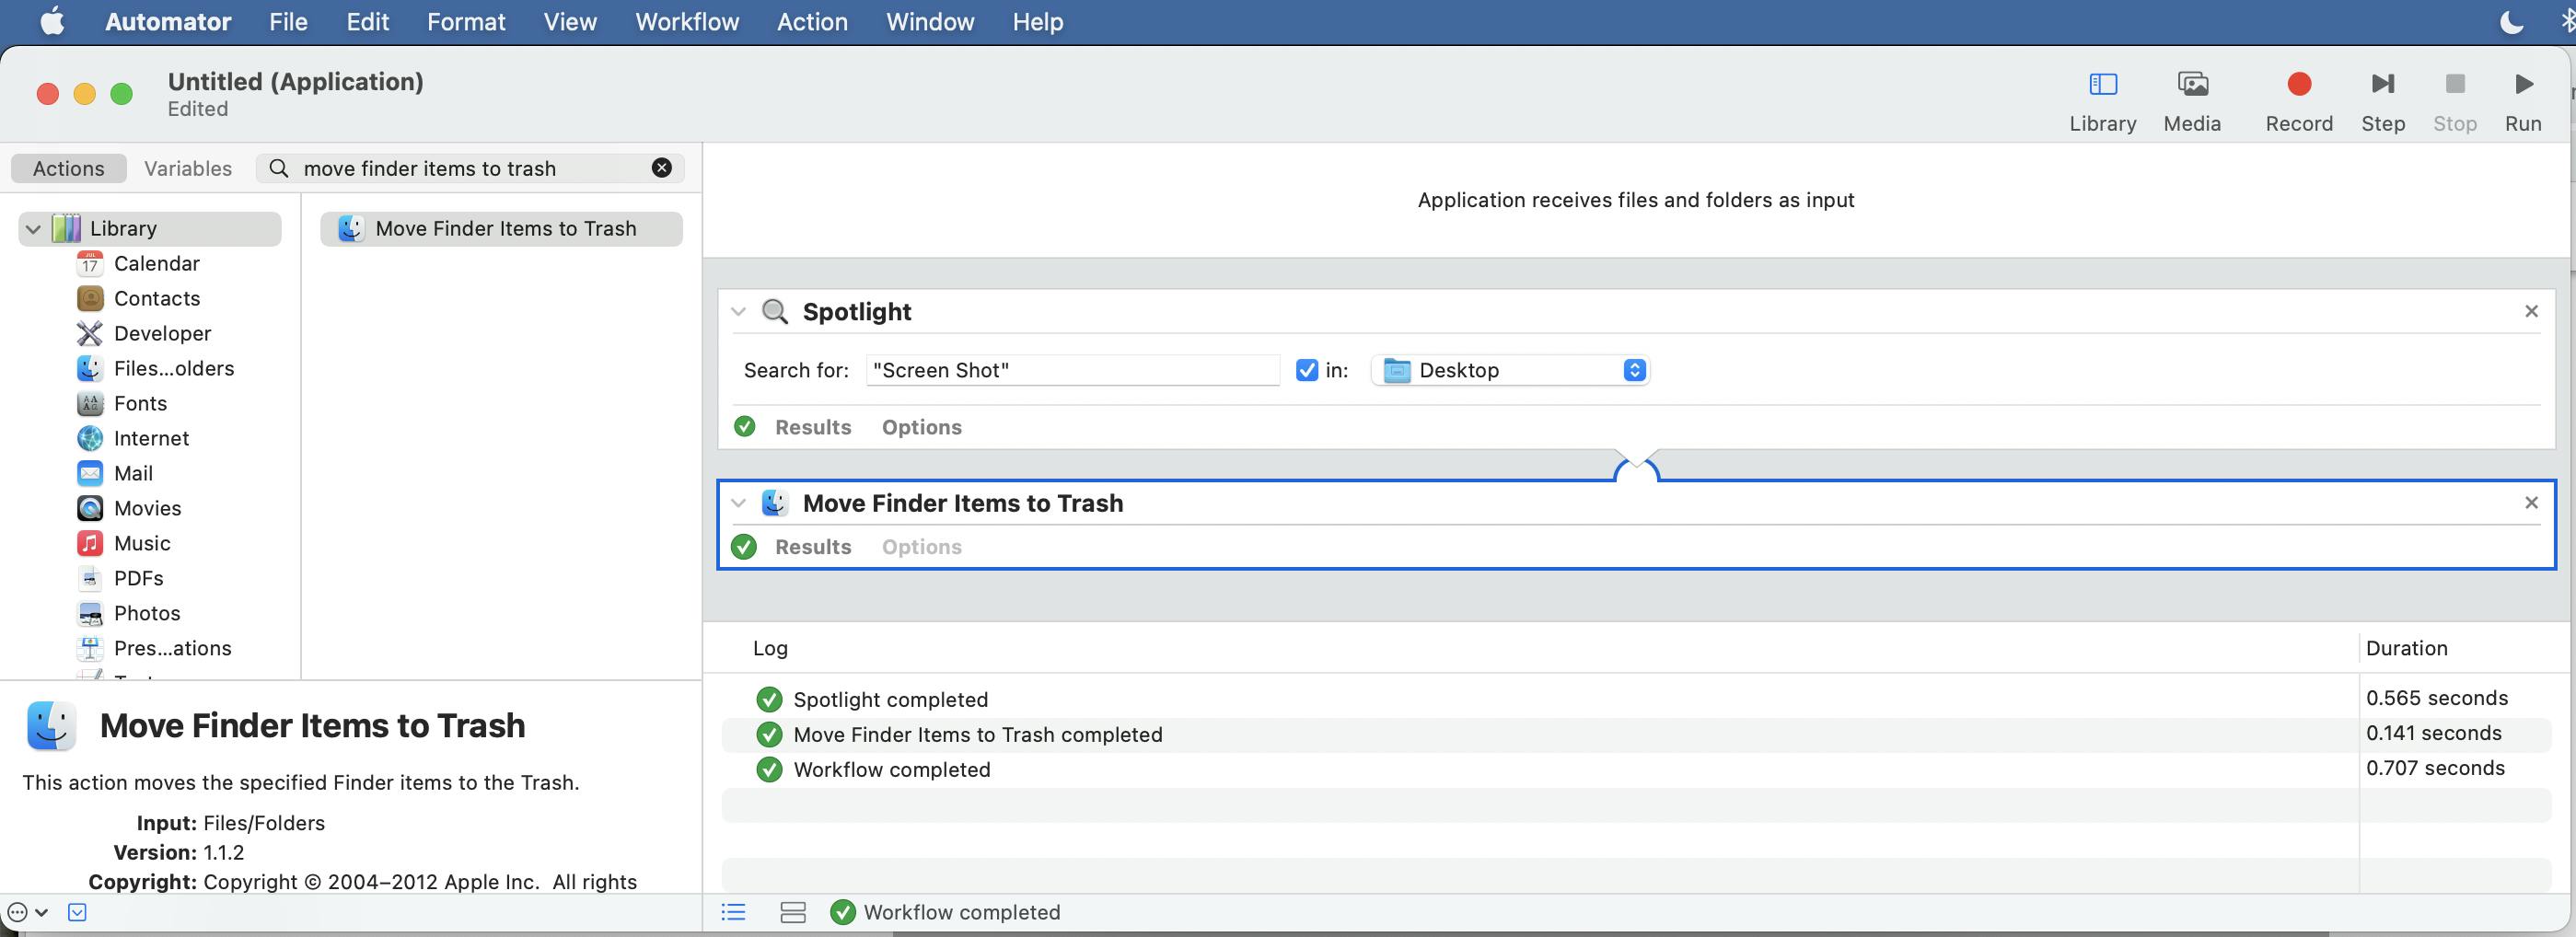
We will be using Spotlight to grab any file that begins with "Screen Shot" on your Desktop.
You can use the search bar on the top right to find Spotlight and drag it over to the work area on the right. Type "Screen Shot" in the first input, select the "in" checkbox, and choose "Desktop" in the dropdown.
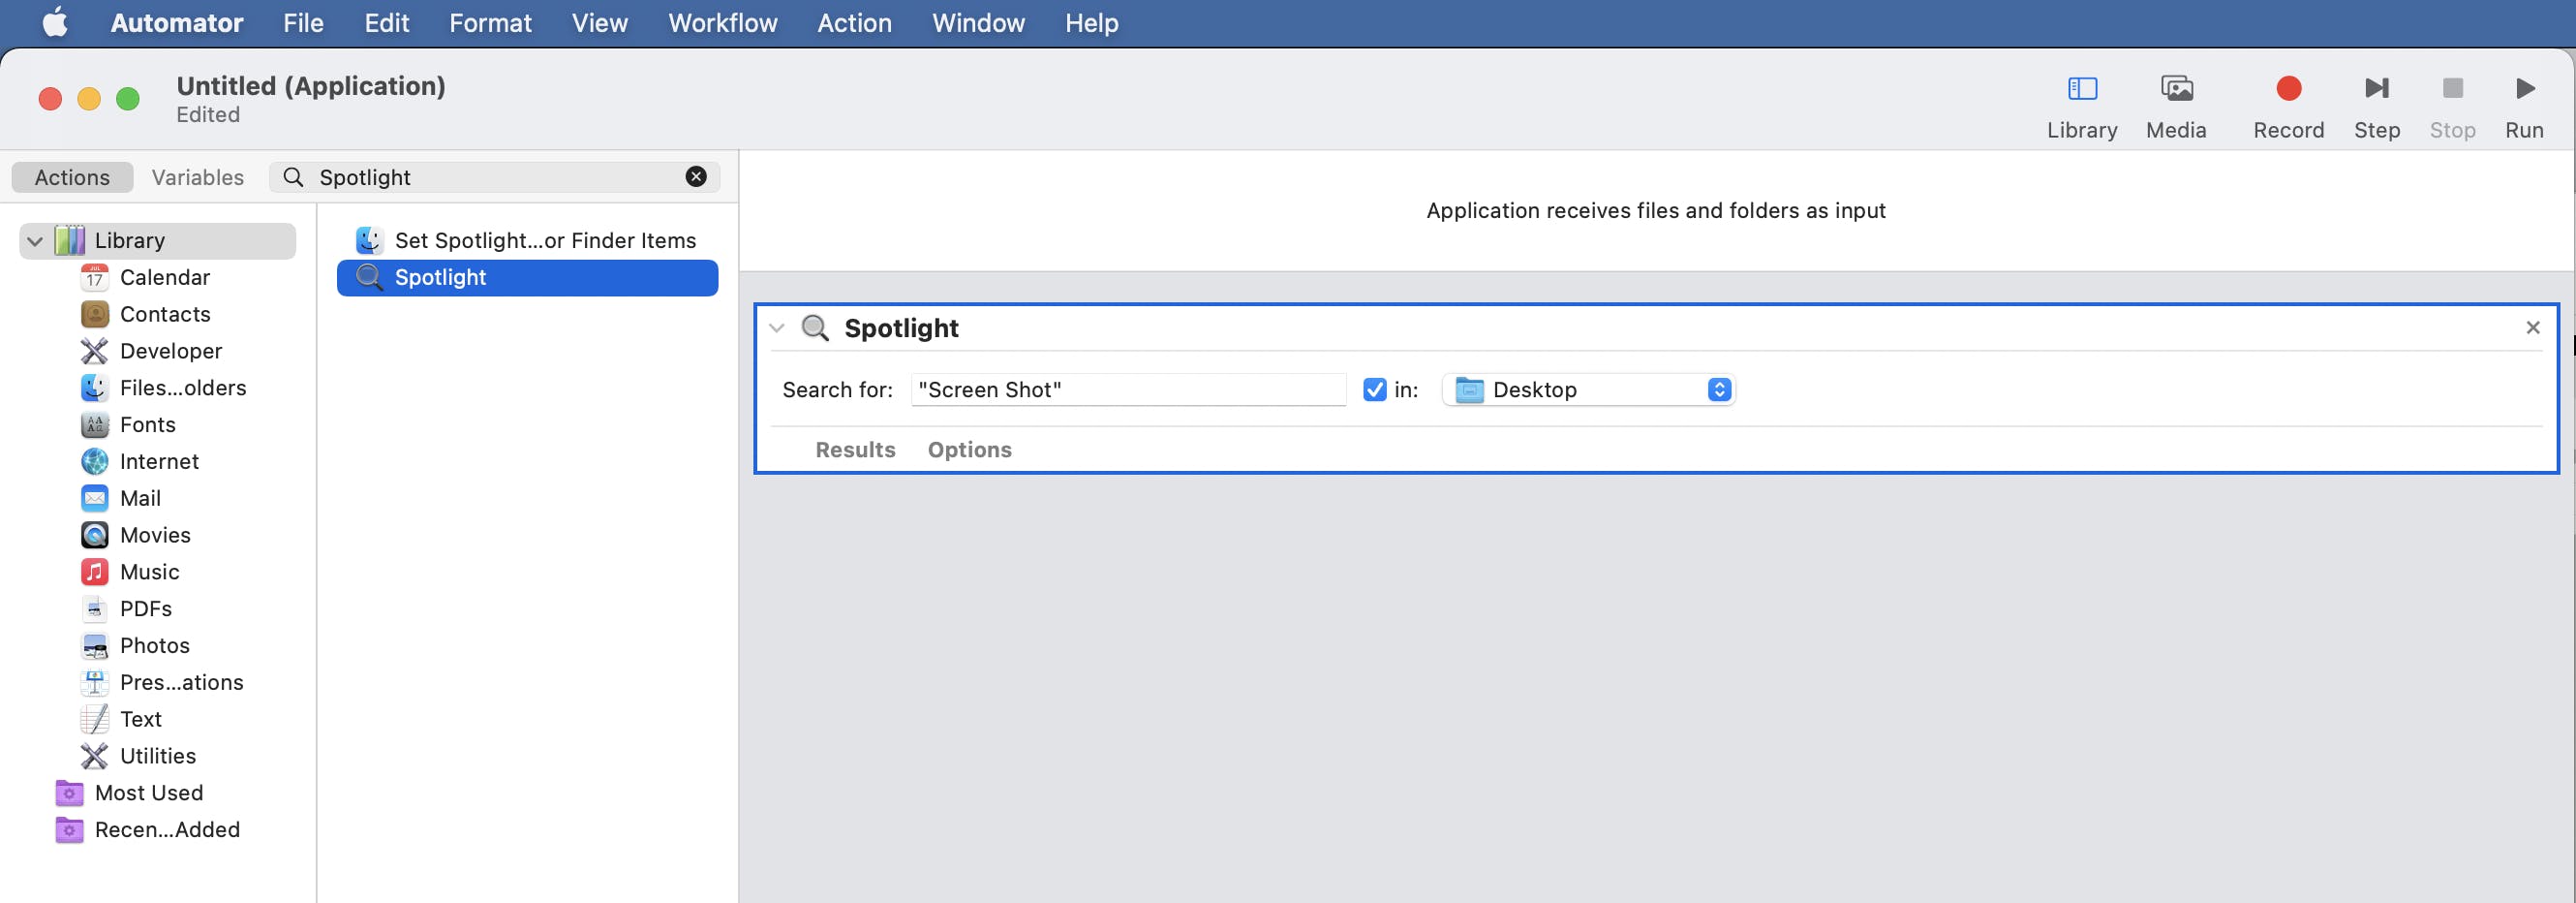
Note: This workflow only works if you don't rename the screenshots or move them from the desktop.
Move Finder Items to Trash
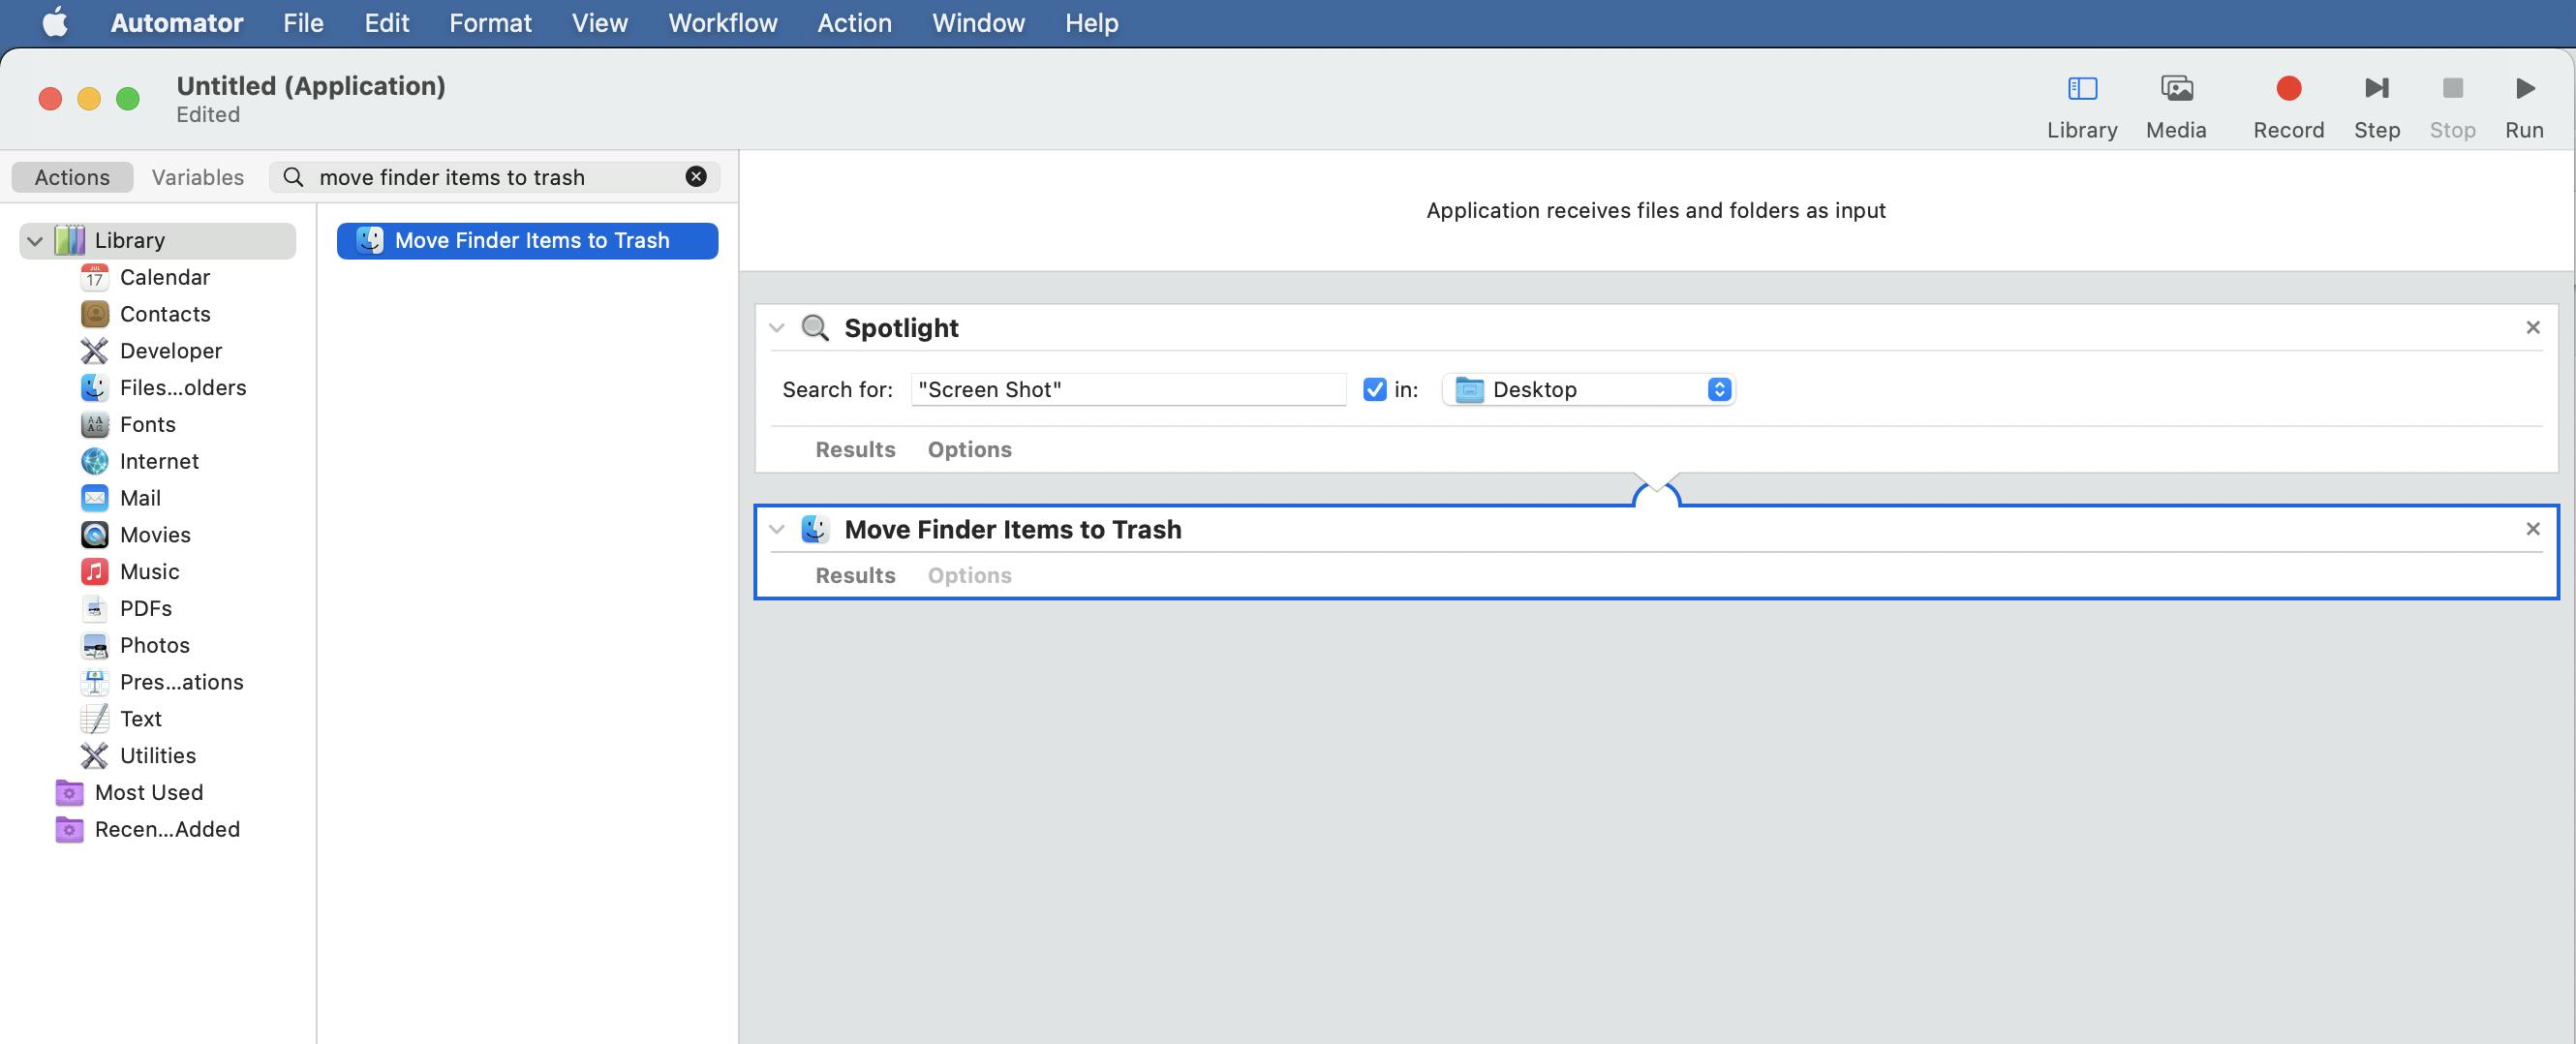
Perfect. Now Automator knows where to find the files to delete. Next, you want to find and drag over Move Finder Items to Trash so that it's positioned underneath Spotlight. This links them together into one workflow.
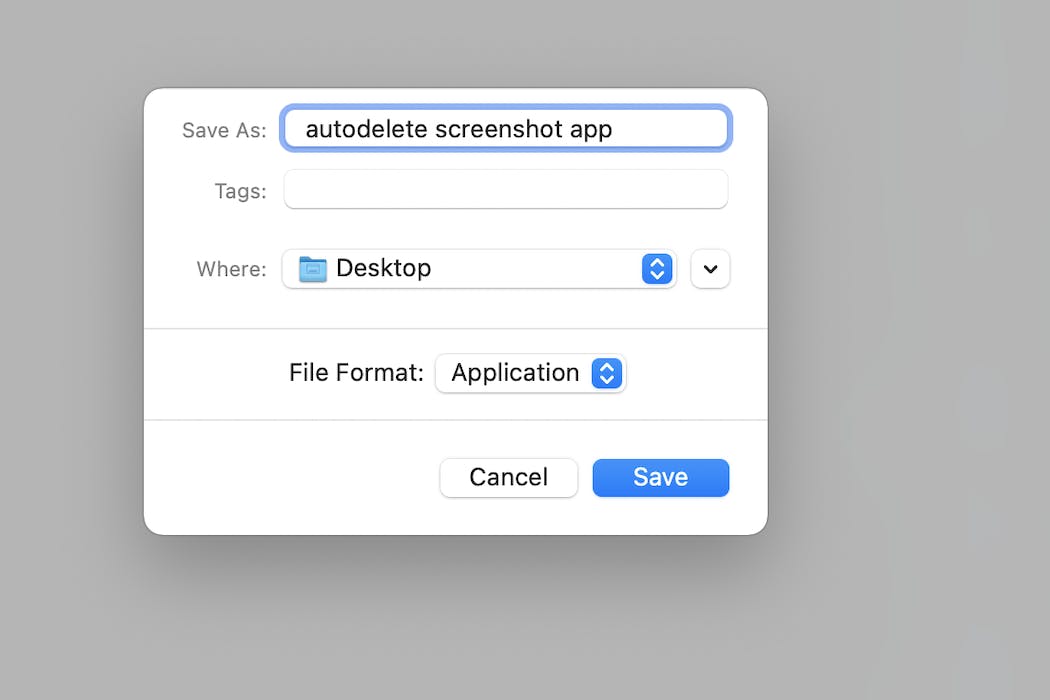
Save
Save the workflow and remember where you saved it. You're going to need this info for the next section.
If you want to try it out, press the Run button to manually run the workflow. It's located in the upper right corner. It will delete all screenshot files from your Desktop if you have any.
Part one is done, so give yourself a pat on the back. In part two, I will go over how to set up iCal so that it runs automatically daily, weekly, or whenever you want. 😁
